C2,TM 9-2320-211-20
shorting of cables can occur. An incorrect
(5) Remove the battery holddown frame. Lift
cable replacement sequence is extremely
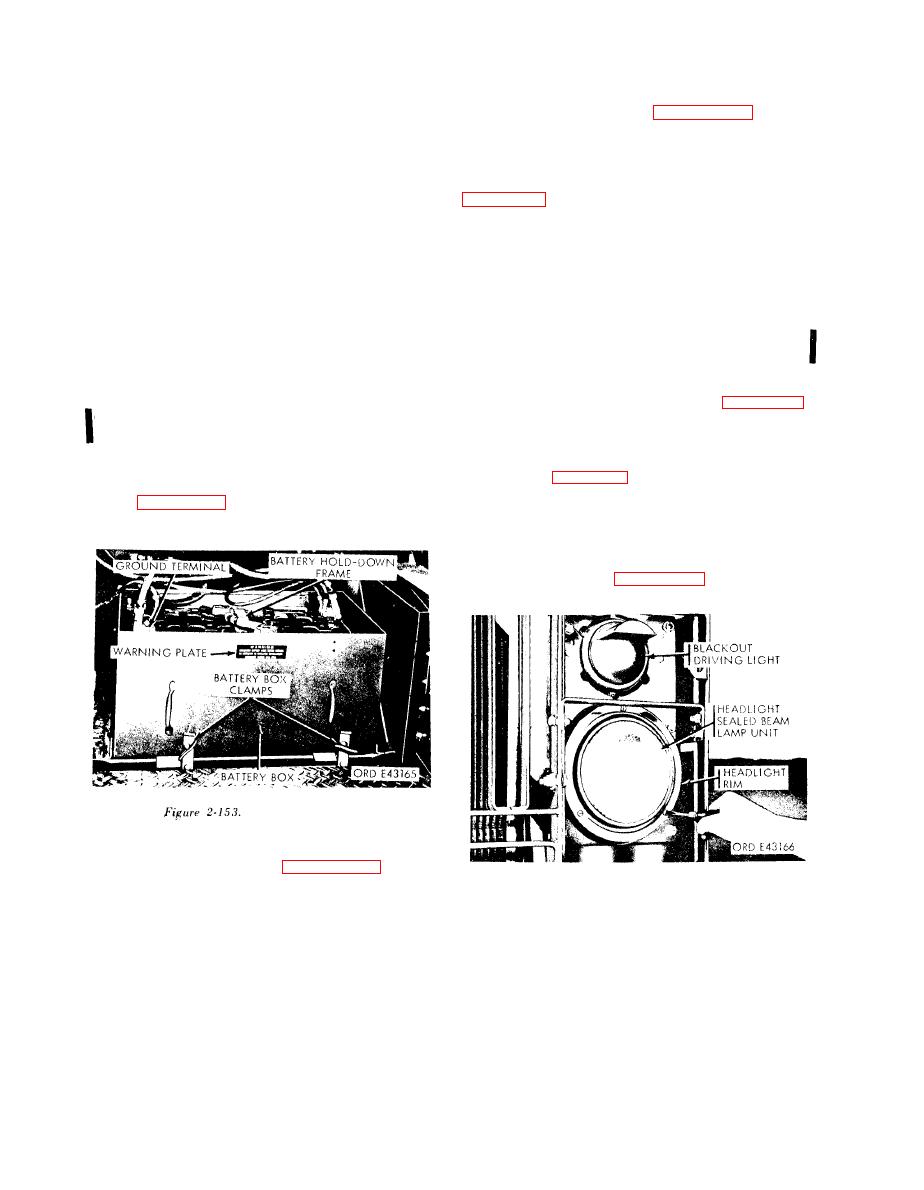
both batteries out of the box (fig. 2-153).
dangerous. Accidental contact of the cable
c. Installation.
replacing tool with the vehicle caused a
(1) Position the batteries in the box with the
direct short, resulting in arcing and instant
positive (+) posts toward the front of the vehicle,
heating of the tool to red heat. This can
and secure the batteries with the holddown frame
cause painful burns on hands and serious
d a m a g e to tools, vehicle, and battery.
(2) Connect interconnecting cable from the
Moreover, t h e shorted battery may ex-
n e g a t i v e (--) post of the front battery to the
plode,
spraying
hot
acid
over
the
positive (+) post of the rear battery.
surrounding area.
(3) Connect the batter-to-solenoid cable to the
a. Cleaning. The top of the battery must be kept
positive (+) post of the front battery.
clean. Tighten the plugs and clean the battery with
(4) Connect the ground cable from the frame
a brush dipped in an alkaline solution, such as
to the negative (--) post of the rear battery.
ammonia or a solution of bicarbonate of soda and
(5) Pack GAA grease around all terminal post
water. After the foaming stops, flush the top of the
connections.
battery with clean water. If the terminals and cable
(6) Slide the box assembly into the battery
clamps are corroded, disconnect the cable and clean
compartment, tighten the clamps with two wing
them as described above for the top of the battery.
nuts, and close the compartment door {fig. 2-153).
Connect the cables and waterproof the battery terminals
2-135. Headlights
by packing them with GAA grease.
a. Removing Sealed-Beam Lamp Unit.
b. Removal.
(1) Remove the three mounting screws from
(1) Open the battery compartment door.
the headlight rim (fig. 2-154) , a n d r e m o v e t h e r i m .
(2) Loosen the wingnuts on both battery box
(2) Remove the three screws attaching the
clamps (fig. 2-153), and unhook the clamps from
retaining ring (fig. 2-155) to the headlight body,
the box.
and remove the ring.
(3) Pull the sealed-beam lamp unit from
headlight body, and disconnect the cables at the
waterproof connectors (fig. 2-155).
Battery installation.
(3) Pull the battery box assembly out onto the
step, and disconnect the cable from the negative
(--) terminal post to ground (fig. 2-153).
(4) Disconnect all cables at the positive (+)
and negative terminal posts on both batteries.


