
TM 9-2320-272-24-4
WARNING
Drycleaning solvent is flammable and toxic. Do not use near open
flame and always have a tire extinguisher nearby when solvents
are used. Use only in well-ventilated places, wear protective
clothing, and dispose of cleaning rags in approved container.
Failure to do this may result in injury or death to personnel and/or
damage to equipment.
1.
Clean all control valve components with drycleaning solvent and dry with lint-free cloth (para. 2-14).
2.
Inspect spool valve (1) and crane control valve (2). Replace crane control valve (2) if grooved,
scratched, cracked, or broken.
NOTE
Drain sleeve should go into control valve far enough to leave two
or three full threads exposed. Installing seat retainer plug at this
point sets the seat retainer to the proper depth.
Install new seat retainer (13) and drain sleeve (14) in crane control valve (2).
1.
Install seat retainer plug (12) in crane control valve (2).
2.
3.
Install new poppet assembly (15) and poppet spring (16) in crane control valve (2) so poppet
assembly (15) points toward seat retainer (13).
4.
Install new relief valve (17) on crane control valve (2).
5.
Install new O-rings (4) and (5), new backup rings (6) and (7), new O-ring (9), and new backup ring (10)
on each check valve cap (3).
6.
Install two poppets (8), springs (ll), and check valve caps (3) into crane control valve (2).
NOTE
The remaining check valve caps are assembled the same way.
7.
Clamp spool valve (1) in soft-jawed vise.
Using improvised compression tool, compress spring (21) and install inner spacer (23), travel limit
8.
washer (22), spring (21), and outer spacer (20) on spool valve (1) with new snapring (19).
9.
Install spool valve (1) and spool valve cap (18) in crane control valve (2).
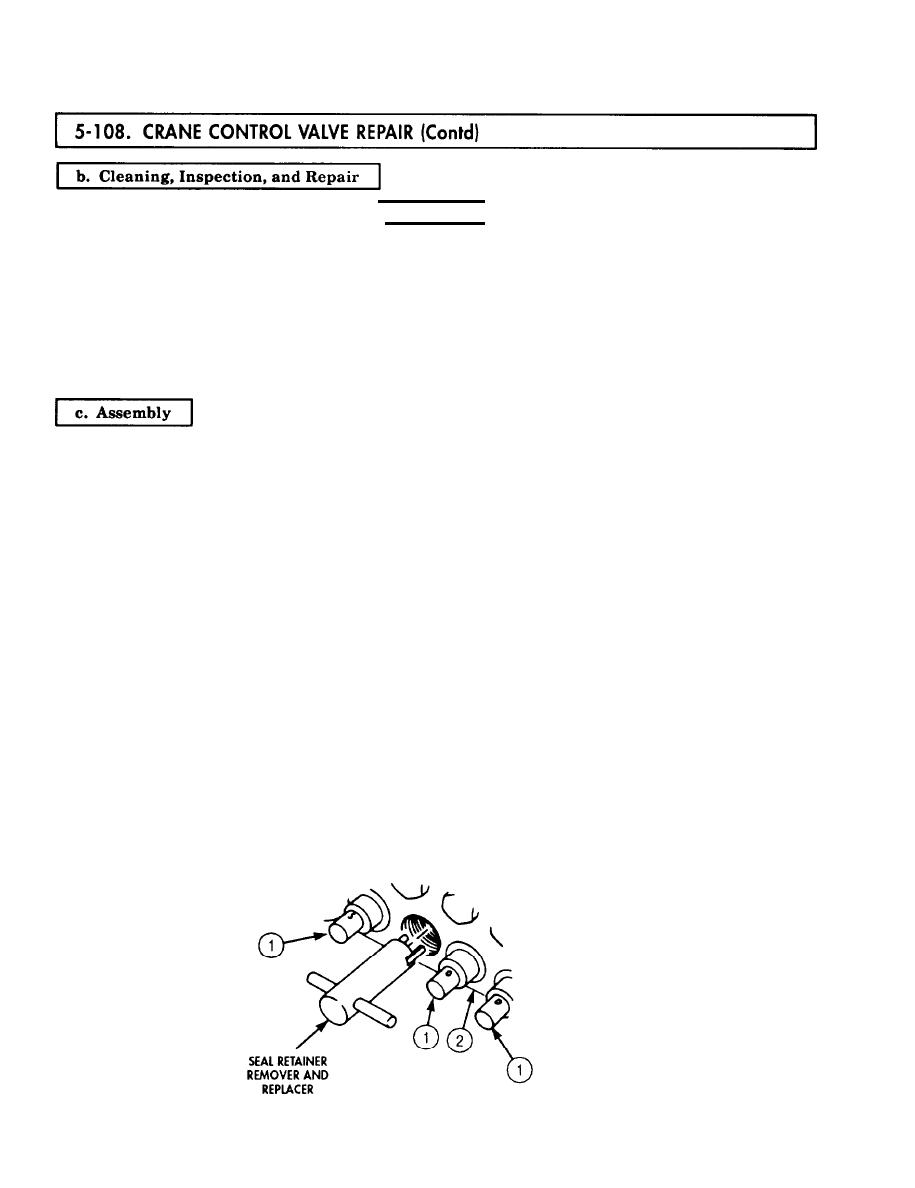
10.
Using seal retainer remover and replacer, install new O-ring (26), new seal (25), and retainer (24)
on crane control valve (2).
5-640
