TM 9-2320-272-24-4
5 - 1 9 . FUEL INJECTOR REPAIR (Contd)
Place injector cup retainer wrench over cup retainer (3).
5.
CAUTION
Injector barrel and plunger are a matched pair (class fit). Do not
l
interchange.
l Do not touch internal parts unless hands are clean and
moistened with diesel fuel. Failure to do so may result in
damage to internal parts.
6.
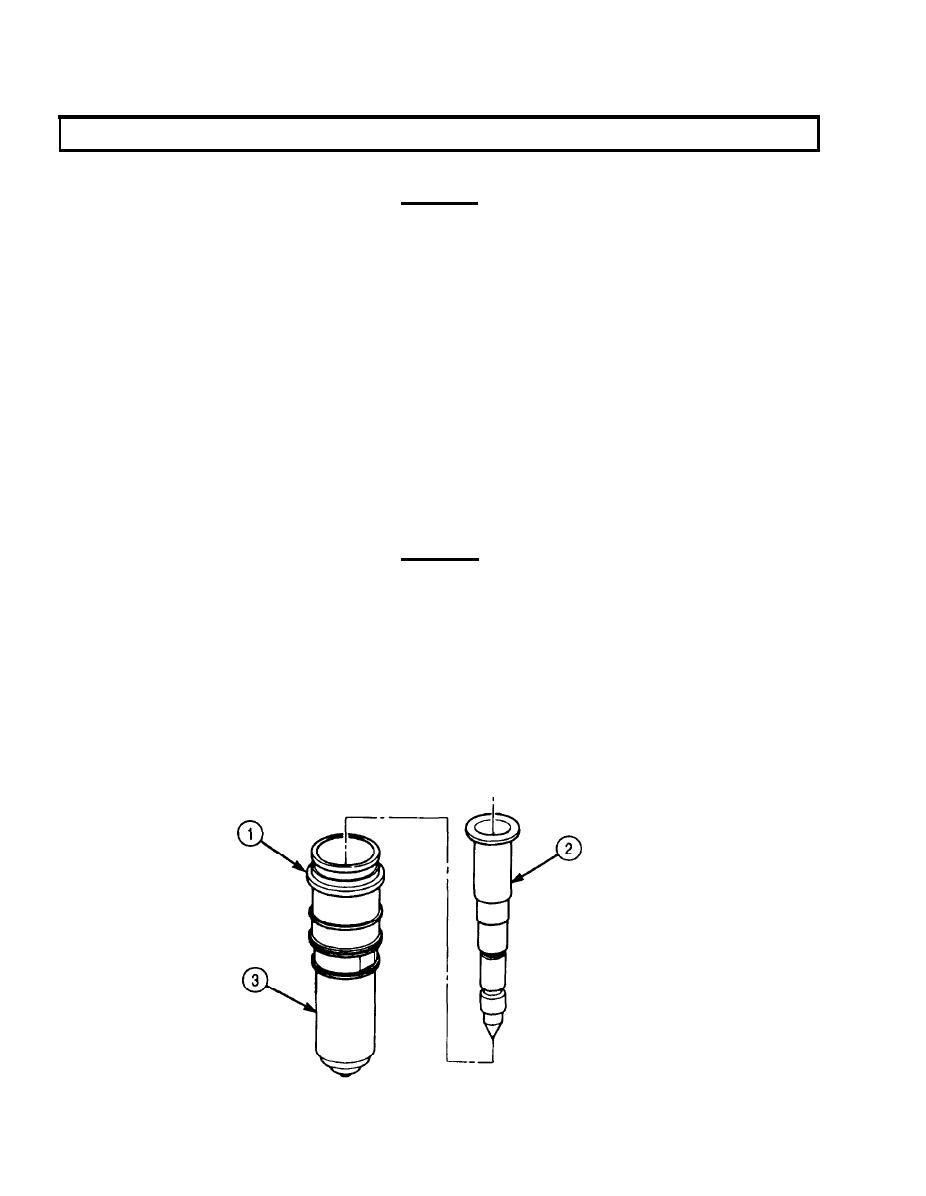
Apply clean diesel fuel to coat plunger (2) and insert plunger (2) into adapter (1).
Remove loading fixture stud (6) from loading fixture (4) and slide body wrench over injector (5) flats.
7.
Position cup retainer wrench on cup retainer (3).
8.
Install loading fixture stud (6) in loading fixture (4) and tighten 110 lb-in. (12 Nlm).
9.
10.
Remove loading fixture stud (6) from loading fixture (4) and lift injector (5) out of loading fixture (4).
11.
Remove plunger (2) from adapter (1).
12.
Apply clean diesel fuel to coat plunger (2).
13.
14.
Insert plunger (2) into injector (5) barrel so plunger (2) remains 0.5 in. (12.7 mm) from edge of
adapter (1).
Press plunger (2) into cup retainer (3) with palm of hand.
15.
CAUTION
Do not allow plunger to fall out during step 16.
Turn cup retainer (3) and adapter (1) with one hand so cup retainer (3) faces upward. Plunger (2)
16.
should slide out immediately. If plunger (2) does not slide out immediately, the injector (5) is not
aligned and must be reassembled as outlined in task b., steps 5 through 14.
17.
Slide two new large O-rings (10) over end of injector (5) and into two upper grooves (15) on adapter.
18.
Slide new small O-ring (9) over end of injector (5) onto lowest groove (13) on adapter (1).
Place new inlet fuel screen (11) over adapter orifice (14) and install with new retainer ring (12).
19.
20.
Place spring (8) on plunger (2) and slide plunger (2) into injector (5).
21.
Install injector link (7) in plunger (2).
5-130


