TM 9-2320-272-24-4
5-29. CRANKSHAFT AND GEAR MAINTENANCE (Contd)
NOTE
All connecting rod caps are installed the same. This procedure
covers the installation of one connecting rod cap.
Rotate crankshaft as necessary to access connecting rod
journals.
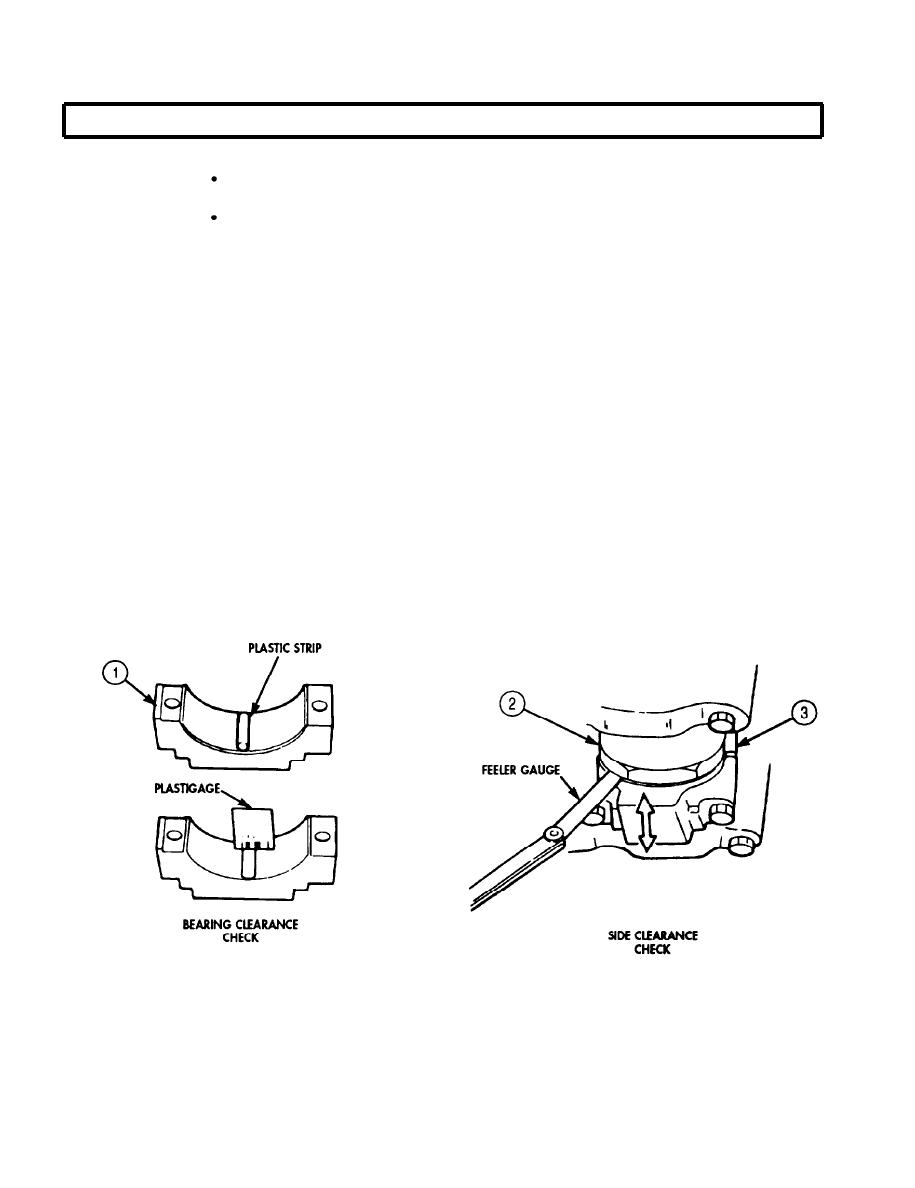
Place a piece of plastic strip across width of connecting rod cap (1).
14.
Install connecting rod cap (1) on crankshaft (2) and connecting rod (3) with two nuts (4).
15.
16.
Tighten nuts (4) 30 lb-ft (41 Nm), then 60 lb-ft (81 Nm), then 90 lb-ft (122 Nm).
Remove two nuts (4) and connecting rod cap (1) from connecting rod (3) and crankshaft (2).
17.
18.
Using plastigage, measure width of plastic strip. If width is not 0.0013-0.0046 in.
(0.033-0.117 mm), replace all connecting rod bearings (5) and (6).
Apply clean engine oil to lubricate connecting rod cap (1).
19.
20.
Install connecting rod cap (1) on crankshaft (2) and connecting rod (3) with two nuts (4).
Tighten nuts (4) 30 lb-ft (41 Nm), then 60 lb-ft (81 Nm), then 90 lb-ft (122 Nm).
21.
22.
Move connecting rod (3) back and forth on crankshaft (2).
23.
Measure connecting rod (3) side clearance using feeler gauge. If clearance is not 0004-0.012 in.
(0.1-0.30 mm), remove connecting rod cap (1) and inspect for proper size and seating of
bearings (5) and (6).
5-204


