
TM 9-2320-272-24-4
5-8. CRANKSHAFT AND MAIN BEARINGS MAINTENANCE (Contd)
Wipe clear surfaces of crankshaft (1) clean with lint-free cloth, and apply lubricating oil.
9.
Position crankshaft (1) in engine block (2) with hooks protected with rubber hose or rope sling at
10.
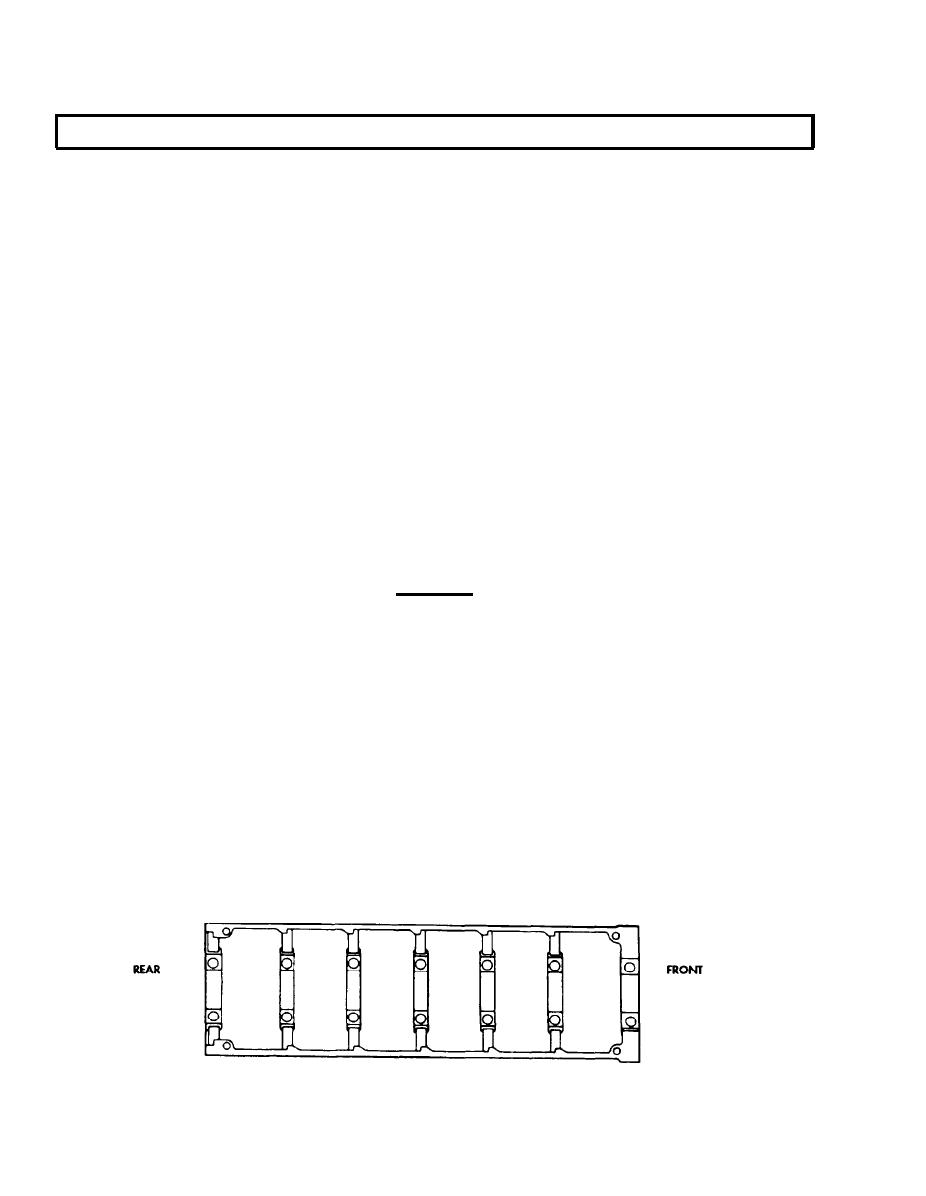
two crank throws and rotate crankshaft (1) until rear crankshaft web is visible.
NOTE
Upper thrust rings are not doweled to block. Lower halves are
doweled to No. 7 bearing cap.
11.
Check markings (12) on rear crankshaft web (10) to determine what size upper thrust rings (7) and (8)
are to be placed at front or rear of journal (9).
Apply lubricating oil to new upper thrust ring (8) and roll in place. Ensure babbit face or grooved
12.
side of new upper thrust ring (8) is next to crankshaft flange (11).
Wipe new lower bearing shells (5) clean with lint-free cloth and apply lubricating oil.
13.
14.
Insert new lower bearing shells (5) over crankshaft (1).
NOTE
Lower thrust ring and No. 7 bearing cap are installed together.
Lower thrust ring must be located over dowel on bearing cap.
Apply lubricating oil to new lower thrust ring (8) and position on No. 7 main bearing cap. Ensure
15.
babbit face or grooved side is next to crankshaft flange (11).
Wipe wear surfaces of main bearing caps (6) clean with lint-free cloth, and apply coat of lubricating
16.
oil.
Position main bearing caps (6) in engine block (2) over new lower bearing shells (5). Ensure
17.
numbers on caps (6) correspond with numbers on engine block (2) on camshaft side.
CAUTION
Do not tap main bearing caps to seat. Hammering will jar
l
bearing shells out of position and cause engine damage.
l Main bearing screws must be tightened alternately and slowly
to ensure proper seating of bearing caps.
18.
Apply lubricating oil to screw (3) threads and new lockplates (4).
19.
Install new lockplates (4) and fourteen screws (3) through caps (6) in engine block (2).
20.
Tighten each screw (3) in three steps of 100 lb-ft (136 Nm) until 300-310 lb-ft (410-423 Nm) is
reached.
21.
Loosen all screws (3) three turns and repeat step 20.
NOTE
Do not bend up tabs on lockplates until after crankshaft end
clearance is checked.
5-54
