
TM 9-2320-211-20
lights) are the same as those for removing the
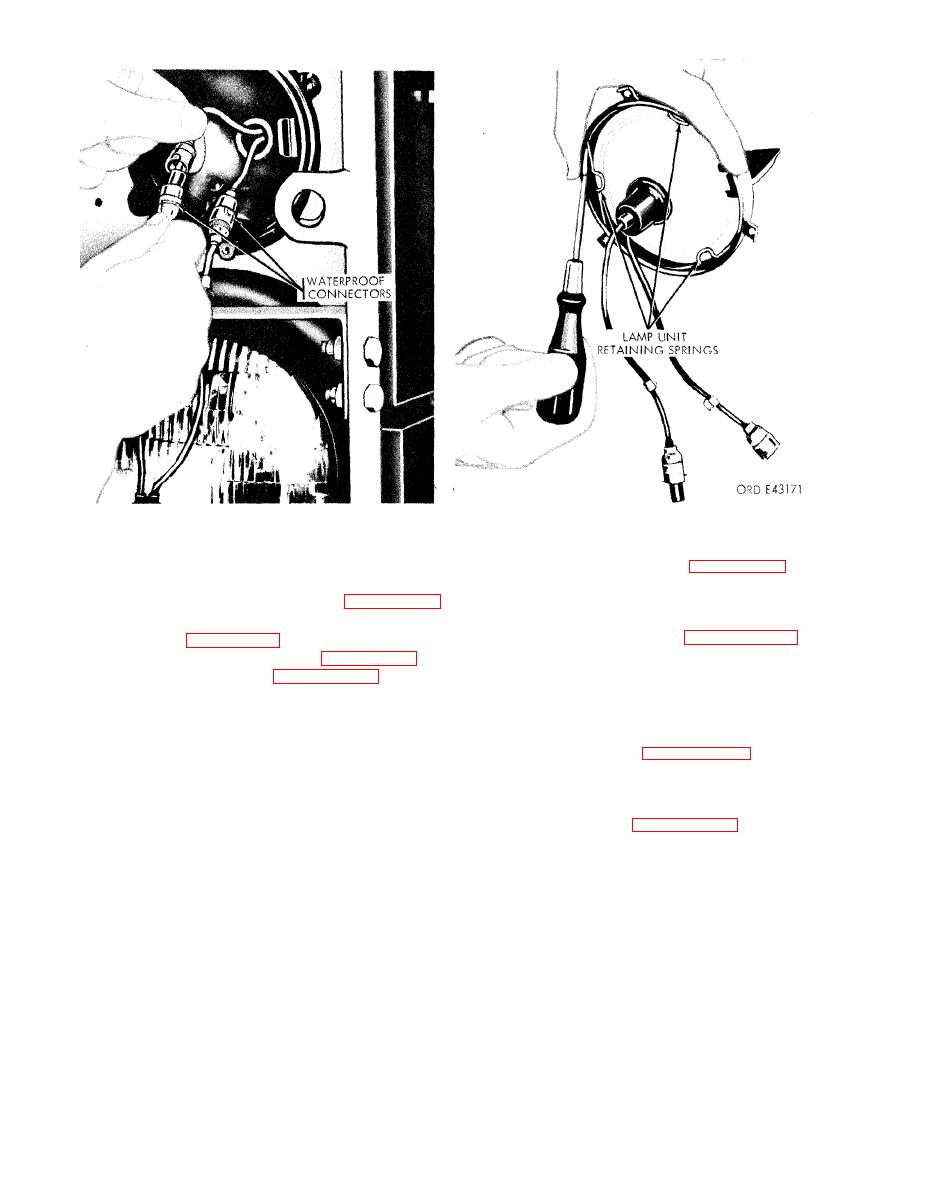
b. Installation.
(1) Position the sealed-beam lamp units in the
parking and directional lights (para 2-136 a).
b. Installation. The procedures for installing
b l a c k o u t driving light door (cover), and secure
t h e s e r v i c e s t o p l i g h t a n d t a i l l i g h t (inclusing
them with the three retaining springs (fig. 2-160).
directional lights) are the sme as those for installing
(2) Connect the lamp unit cables to the wiring
parking and directional lights (para. 2-136 b).
harness cables (fig. 2-160), and fasten the cable
connectors in the connector clips (fig. 2-159).
Blackout-Marker Lights, Blackout
(3) Position the door (fig. 2-159) and lamp
Stoplight, and Blackout Taillights
unit assembly on the front of the light body, and
a. Removal. The procedure for removing
install the three door retaining screws. Tighten the
blackout-marker lights, blackout stoplight, and
screws.
b l a c k o u t taillights are the same as those for
(4) Operate the light switch to test the
removing parking lights (para 2-136 a).
blackout driving light.
b. Installation. T h e p r o c e d u r e s f o r i n s t a l l i n g
2-138. Stoplight and Taillight (Including
blackout-marker lights, blackout stoplight, and
blackout taillights are the same as those for in-
Directional Lights)
stalling parking lights (para 2-136 b).
a. Removal. The procedures for removing the
service stoplight and taillight (including directional
Section XXII. WIRING CIRCUITS AND HARNESSES
connectors are used on these vehicles. One is a plug-
2-140. General
NOTE
and-receptacle type with the receptacle encased in a
Repair of harness cables and wires should
metal sleeve. The plug is secured to the receptacle
be limited to splicing broken wires and
by a retaining nut screwed onto the sleeve to form a
r e p l a c i n g terminals and / or end con-
watertight housing. The other type of cable con-
nectors.
nector is the bayonet type with two interlocking
a. Wiring. Cable ends are always soldered to
bells enclosing an insulated connector, and with
their connecting plug socket or terminal using rosin
two rubber bushings forming a watertight joint.
flux solder (never acid flux). Two types of cable

